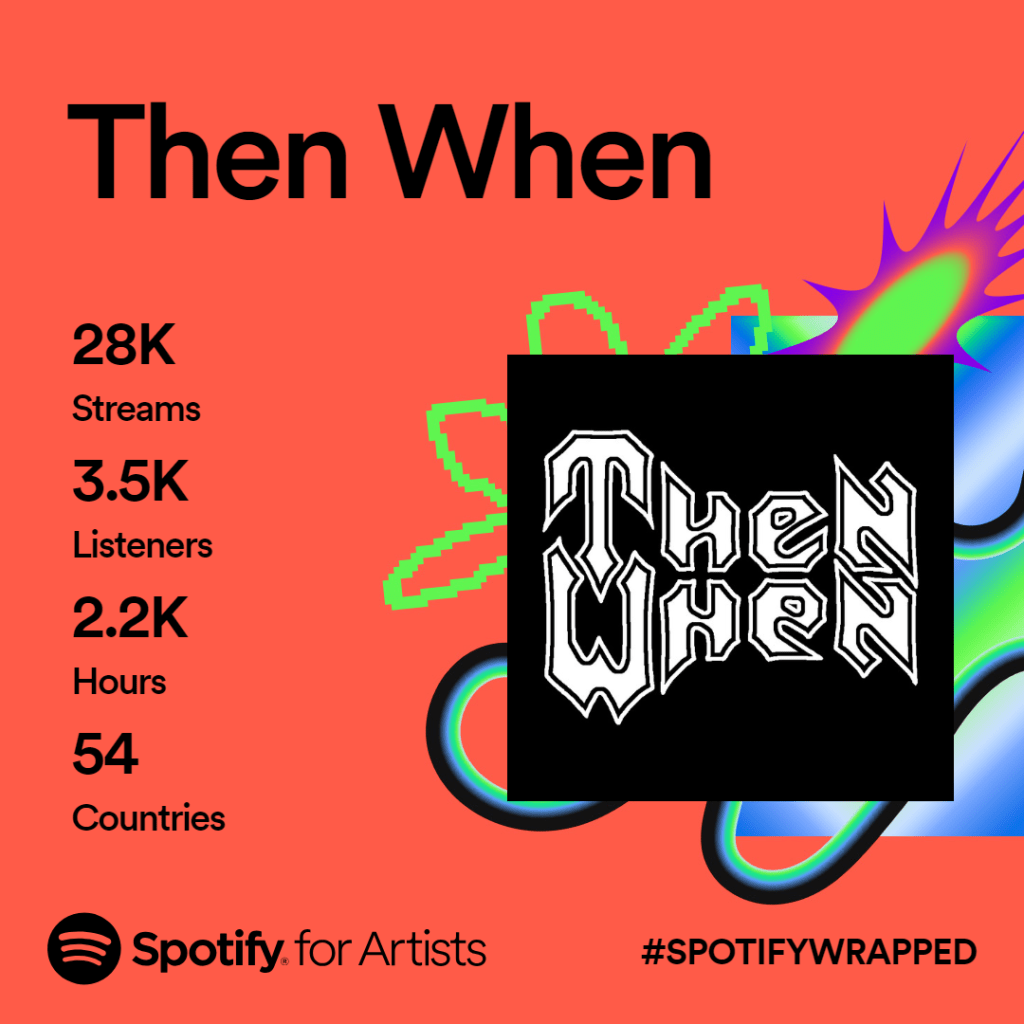
Hey everyone! It’s been a minute! We’ve been busy creating new music and promoting our EP, Entitled. The Spotify Wrapped numbers are in and we’re excited to share them with you. Thank you all for listening and sharing!


Hey everyone! It’s been a minute! We’ve been busy creating new music and promoting our EP, Entitled. The Spotify Wrapped numbers are in and we’re excited to share them with you. Thank you all for listening and sharing!

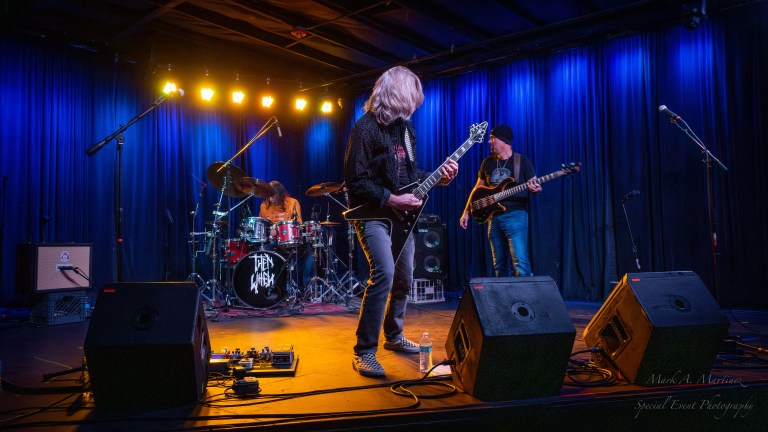
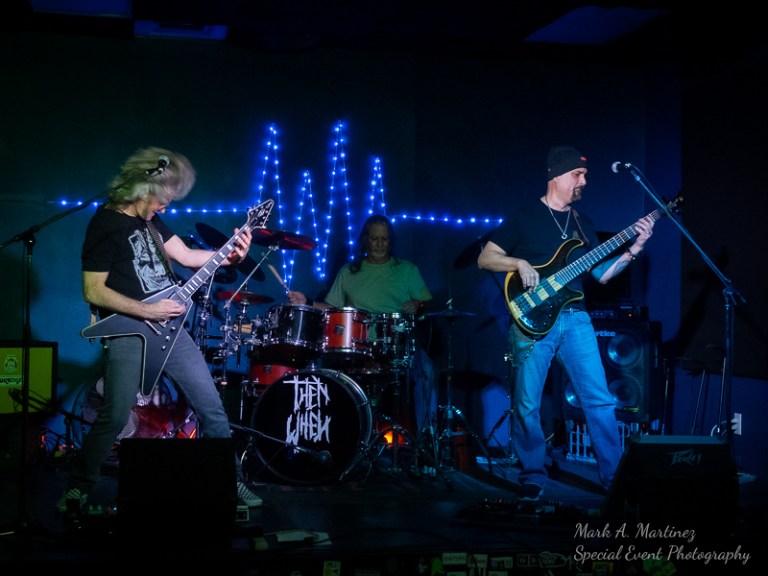
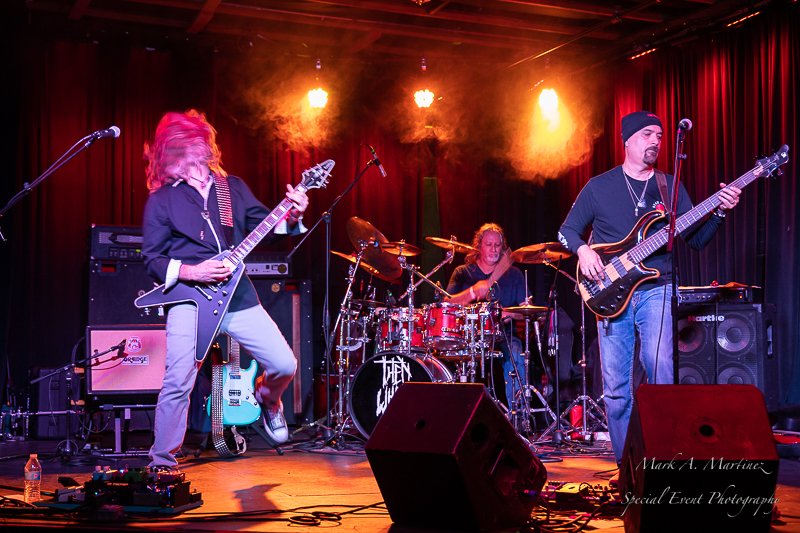
We had an amazing time at 191 Toole. Thank you to all those who came out to rock out. Here’s the pics, enjoy \m/ \m/

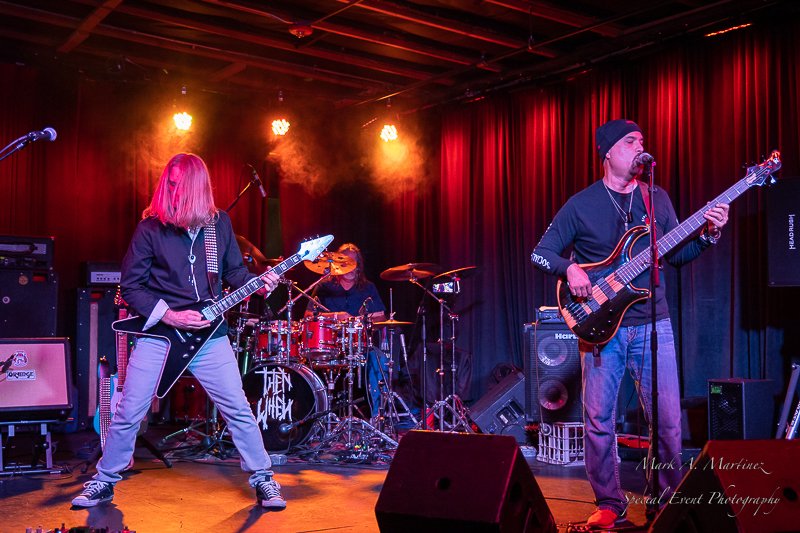
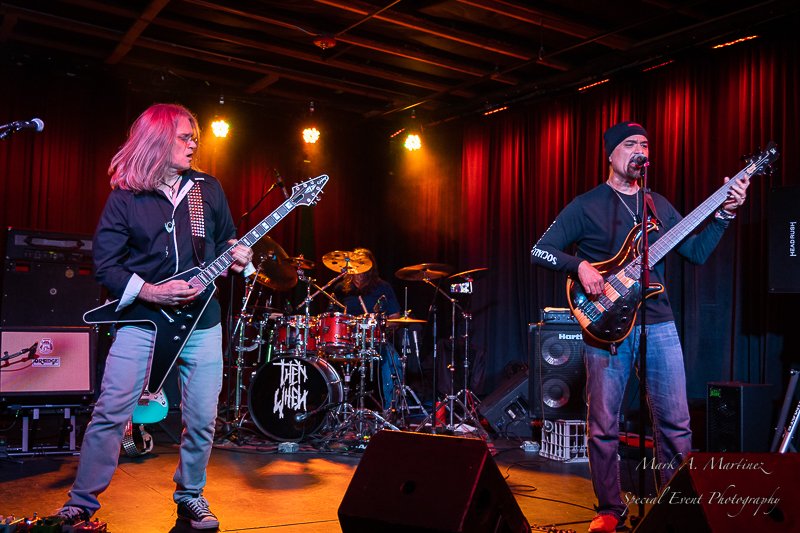
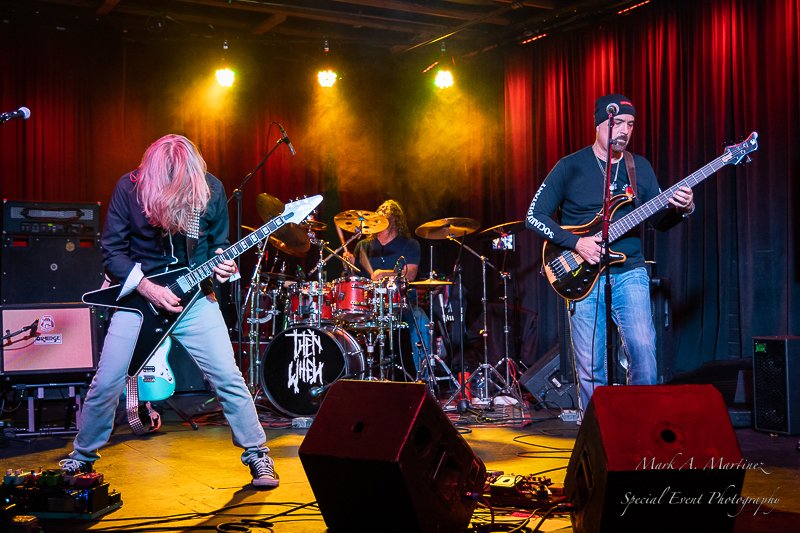
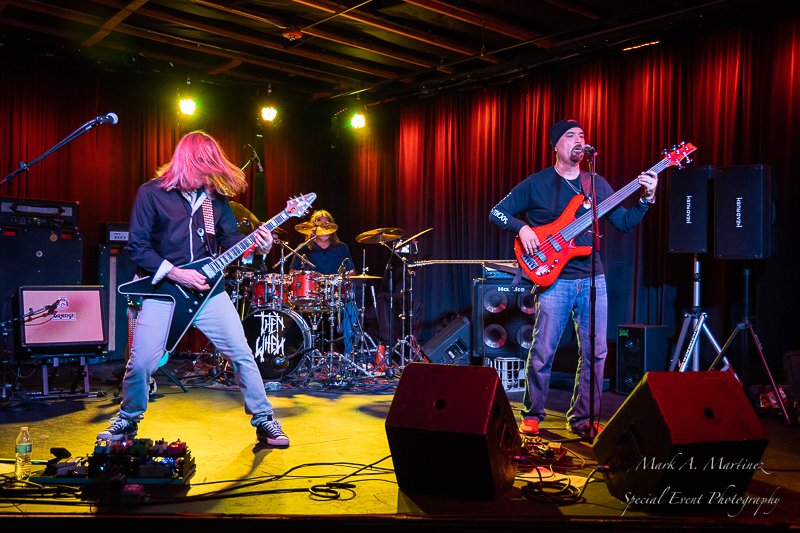
Then When tore up the stage at Encore (5/22/2023). We can’t help it, we ruin everything 😉
Pics or it didn’t happen…

Then When are proud to announce the release of our EP, Entitled! Streaming now! Go get it! \m/ \m/

This one’s a big deal! Then When are celebrating the release of their latest EP, Entitled, soon to be available on all streaming platforms. Come join Then When, Theocide, Something Like Appropriate, Saguaroville, and Donnyvoidance and rock out 191 Toole on Saturday, June 17th. It’s going to be a spectacular assortment of Tucson talent that you don’t want to miss!
Thank you to all the crazies that rocked out with us at 191 Toole! You’re our people \m/ \m/
Next up, Encore on Monday, 5-22-2023 supporting Worldwide Panic come out and help us ruin everything!
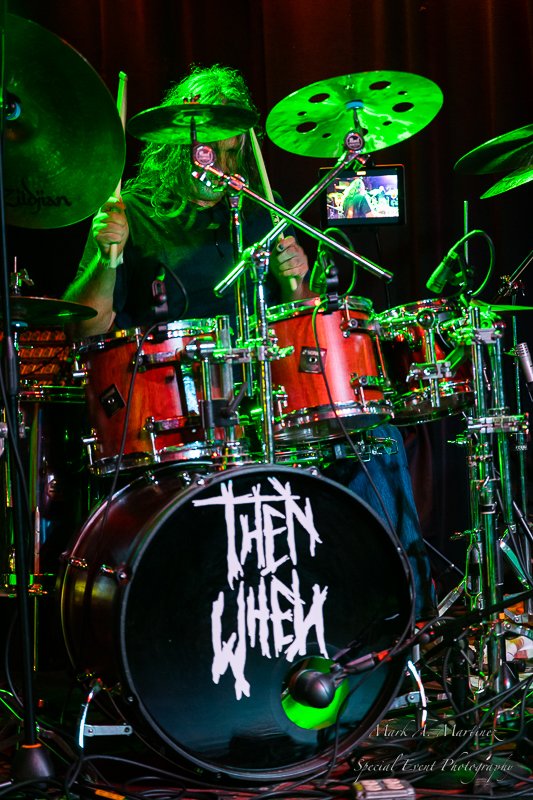
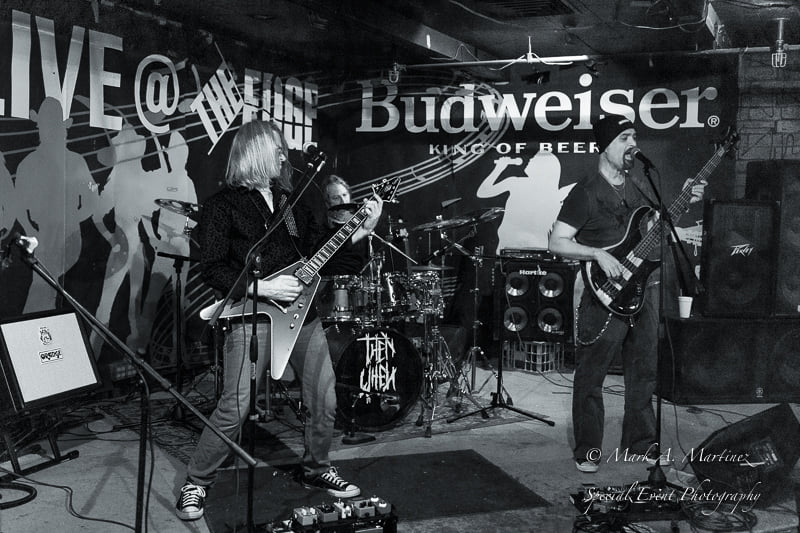
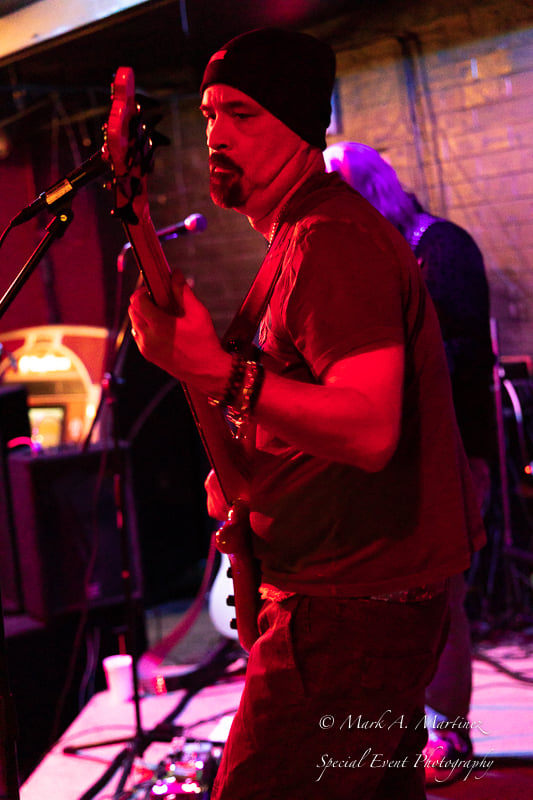
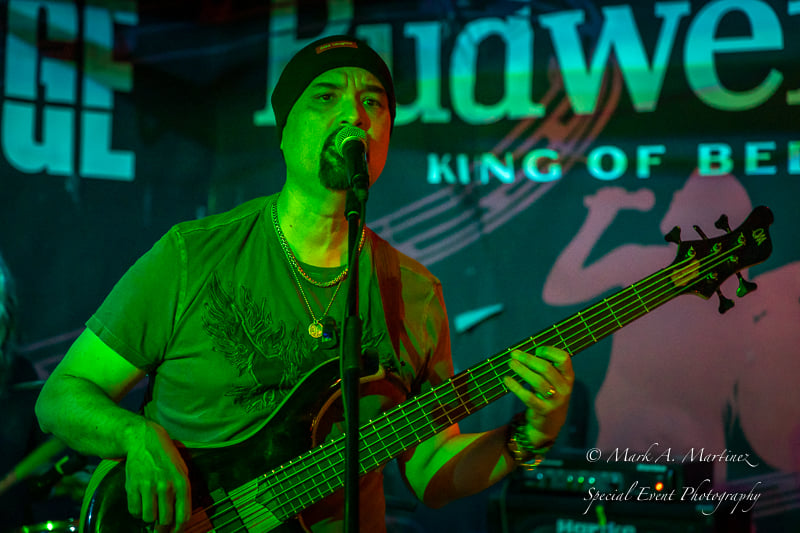
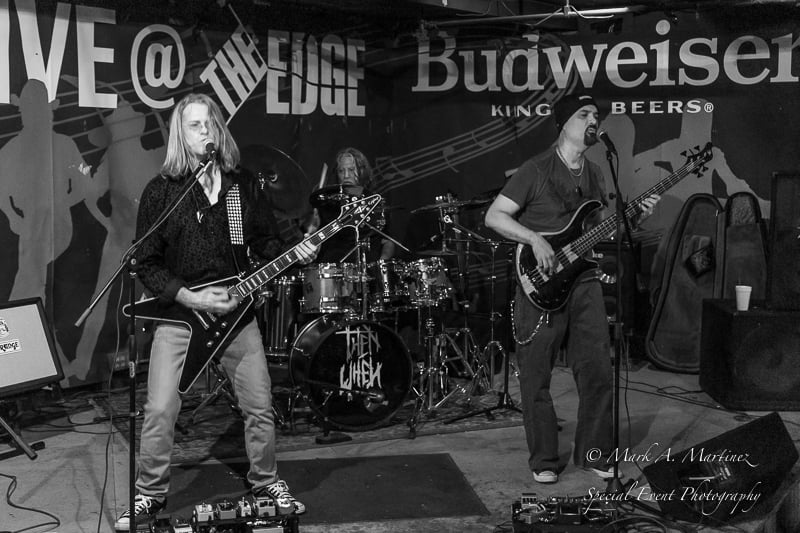
Thank you to all those who came out to support the community. We had a blast. It was an honor to support Groundworks. We hope you enjoy these pics from the event \m/ \m/


Photos courtesy of Mark A. Martinez


Photos courtesy of Mark A. Martinez


Photos courtesy of Mark A. Martinez
